How to configure single sign-on (SSO) for ClearSlide
ADSelfService Plus facilitates SSO for ClearSlide. If SSO is enabled for ClearSlide in ADSelfService Plus, users only have to log in to the ADSelfService Plus portal to be able to securely access ClearSlide in a single click without reentering their username and password. With ADSelfService Plus, SSO can be enabled for any SAML-based application.
Benefits of using ADSelfService Plus to implement SSO
- Reduce password fatigue: Free users from having to remember different usernames and passwords for their enterprise applications; once they log in to ADSelfService Plus, they'll be able to access other applications without going through the verification process.
- Implement multi-factor authentication: Secure application logins with 15 advanced authentication factors including biometrics, YubiKey, and Google Authenticator.
- Streamline application access: Provide one-click access to all applications from a single portal.
- Increase user adoption rate of applications: Witness increased usage of applications that foster productivity due to their ready availability in the ADSelfService Plus portal.
Did you know SSO also helps with an organization's regulatory compliance?
SSO app catalog
ADSelfService Plus supports both identity provider (IdP) and service provider (SP) initiated SSO.
IdP-initiated SSO for ClearSlide:
- Users log in to the ADSelfService Plus portal.
- To access ClearSlide, they can simply click on the ClearSlide icon in the Applications tab.
SP-initiated SSO for ClearSlide:
- Users attempt to log in to their ClearSlide accounts.
- They are redirected to the ADSelfService Plus login page.
- They enter their credentials here, and after successful verification they are redirected to ClearSlide and logged in automatically.
Configuration steps
Prerequisites:
- Download and install ADSelfService Plus if you have not already, and complete the basic setup.
- Log in to ADSelfService Plus as an admin.
- Go to Application → Add Application, and click on the ClearSlide app icon. You can also use the search bar to find the application.
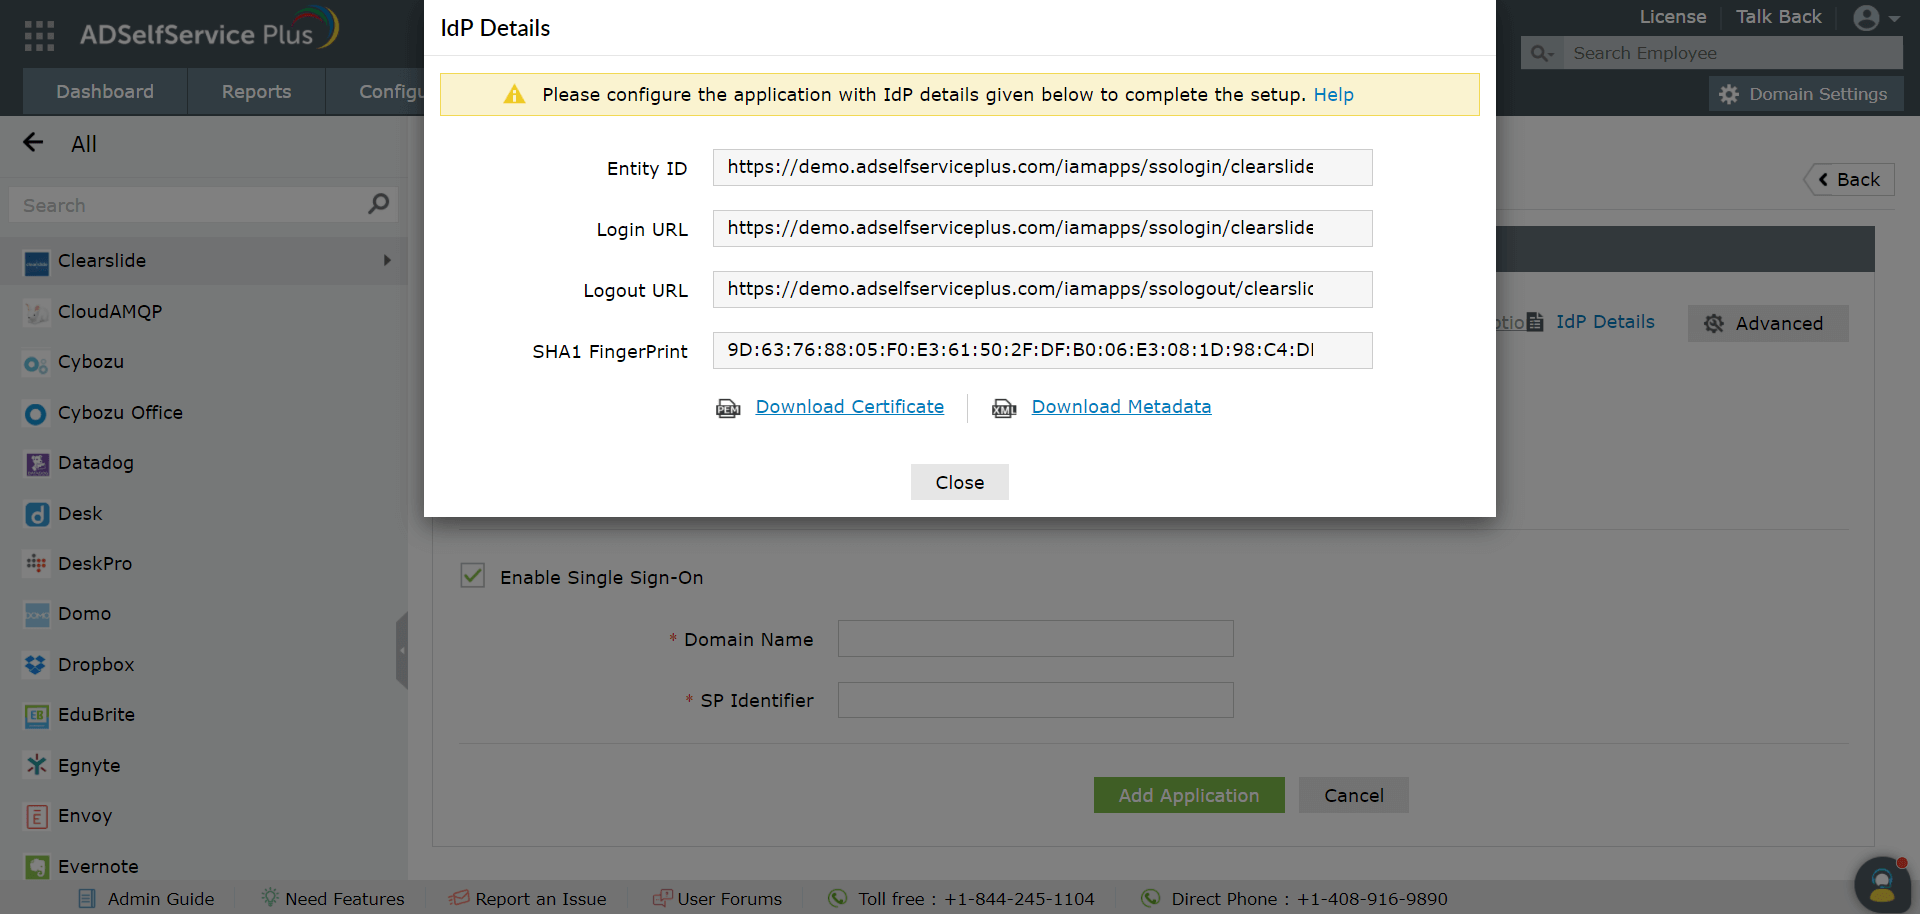
- Click on IdP Details on the top-right corner of the page.
- In the screen that appears, copy the values of the Login URL and Logout URL. Click Download Certificate to download the SSO certificate.
ClearSlide (SP) configuration steps
- Log in to your ClearSlide admin account.
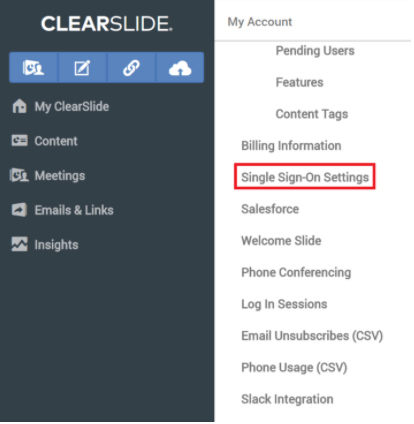
- Click on your account name in the bottom-left corner. Go to My Account, and select Single Sign-On Settings.
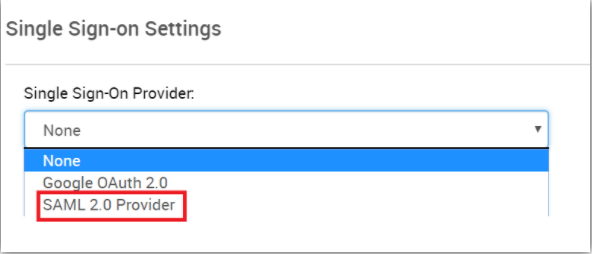
- Select SAML 2.0 Provider in the Single Sign-On Provider drop-down list.
- Configure options Automatically create user accounts and Require Single Sign-On for all users according to your preference.
- Take note of the value provided in the Custom Login URL. You'll need this value in a later step. This value will serve as the subdomain name while configuring ClearSlide in ADSelfService Plus.
- Enter the Logout URL saved in step 5 of prerequisites in the Single Sign-Out URL field.
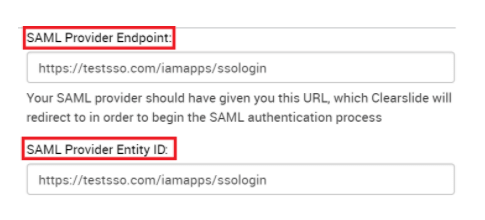
- Scroll down to the Your SAML Provider Configurations section.
- In the SAML Provider Endpoint and SAML Provider Entity ID fields, enter the Login URL value that you saved in step 5 of the Prerequisite section.
- Paste the contents of the SSO certificate you downloaded in step 5 of the Prerequisites section in the X.509 Certificate field.
- Click Save.
ADSelfService Plus (IdP) configuration steps
- Switch back to the ADSelfService Plus' ClearSlide configuration page.
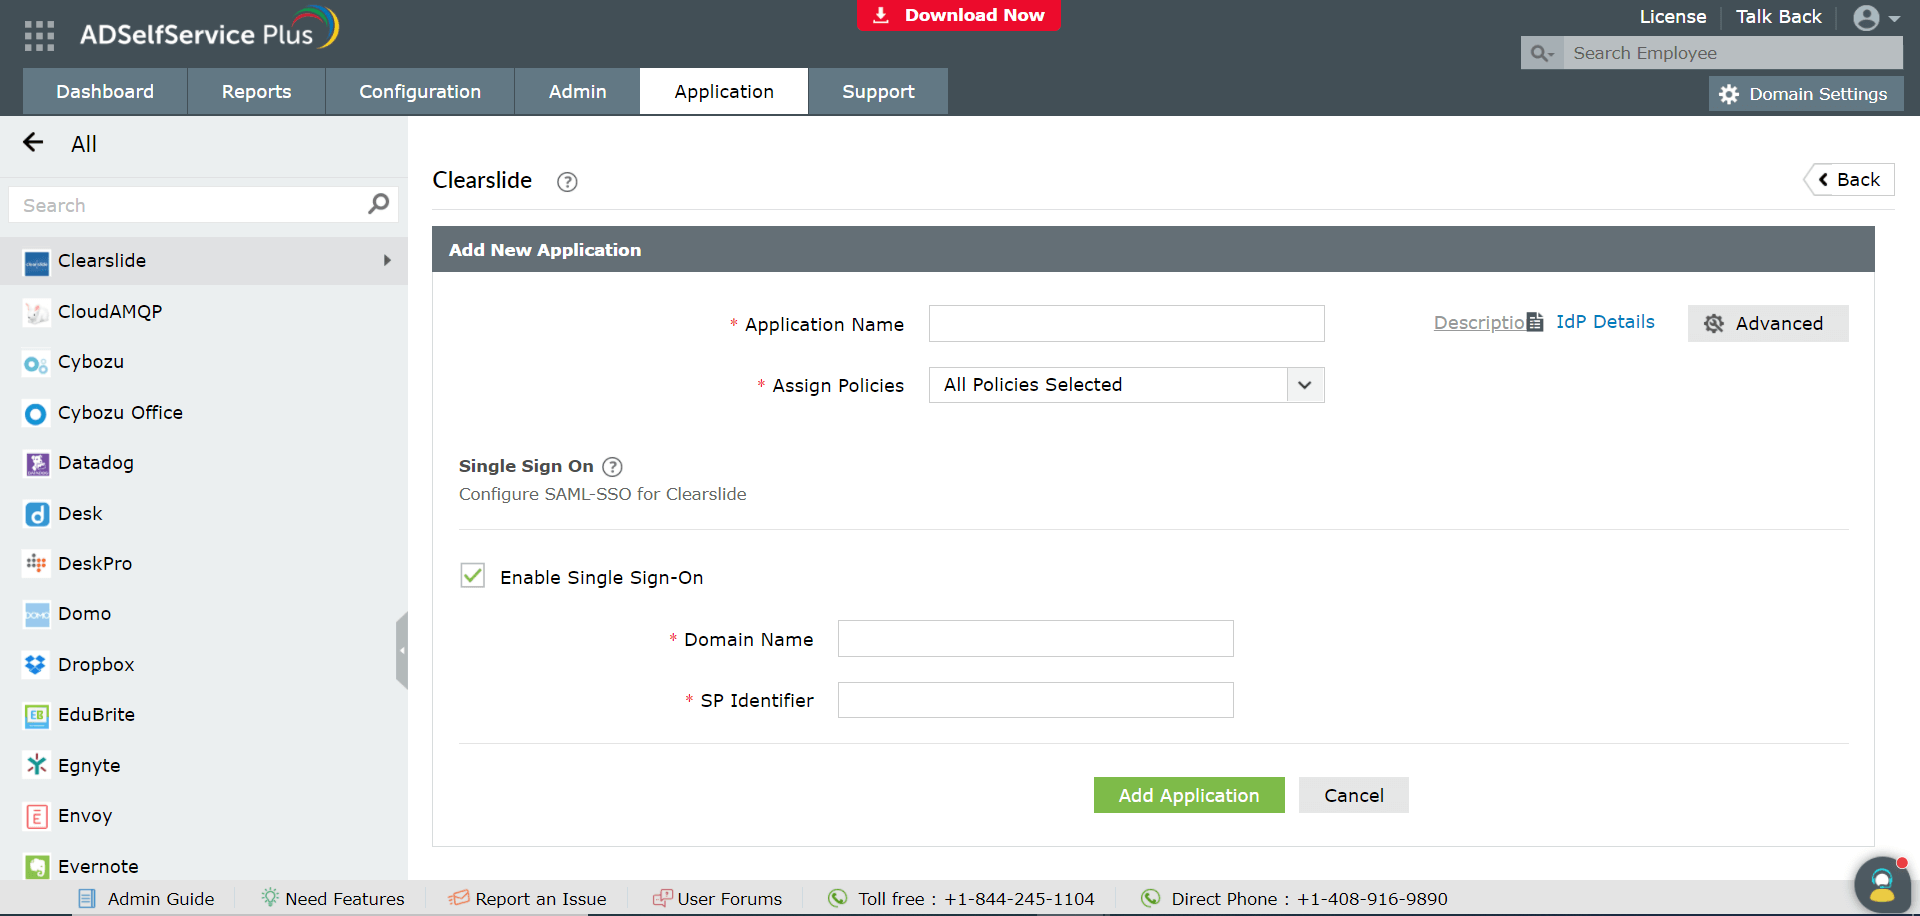
- Fill in the Application name and Description fields.
- Select the policies for which this SSO should be enabled in the Assign Policies field.
- Check the box next to Enable Single Sign-on.
- Enter the name of your ClearSlide domain in the Domain Name field.
- Enter the Custom Login URL value saved in step 5 of ClearSlide configuration in the SP Identifier field.
- Click Add Application to save the settings.
Now, users will be able to log in to ClearSlide through ADSelfService Plus.
On enabling SSO between ClearSlide and ADSelfService Plus, ClearSlide account logons can be secured with 15 advanced authentication methods, as listed below:
Highlights
Free Active Directory users from attending lengthy help desk calls by allowing them to self-service their password resets/ account unlock tasks. Hassle-free password change for Active Directory users with ADSelfService Plus ‘Change Password’ console.
Get seamless one-click access to 100+ cloud applications. With enterprise single sign-on, users can access all their cloud applications with their Active Directory credentials. Thanks to ADSelfService Plus!
Intimate Active Directory users of their impending password/account expiry by mailing them these password/account expiry notifications.
Synchronize Windows Active Directory user password/account changes across multiple systems, automatically, including Office 365, G Suite, IBM iSeries and more.
Ensure strong user passwords that resist various hacking threats with ADSelfService Plus by enforcing Active Directory users to adhere to compliant passwords via displaying password complexity requirements.
Portal that lets Active Directory users update their latest information and a quick search facility to scout for information about peers by using search keys, like contact number, of the personality being searched.
